

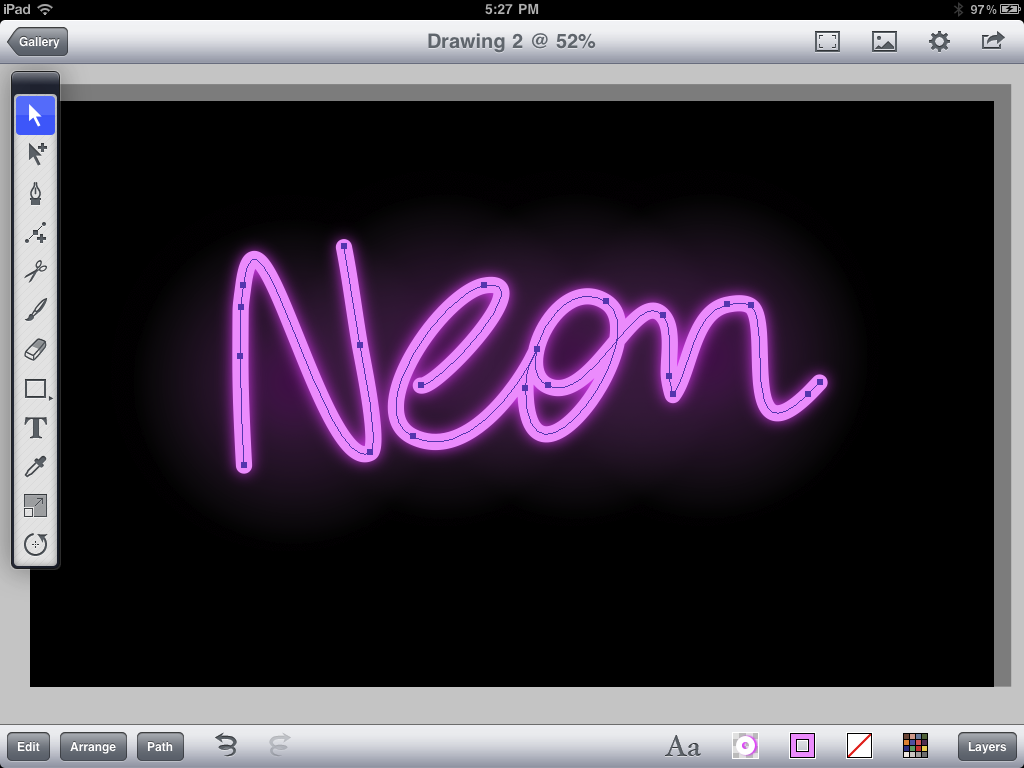
With the Freehand Tool or the Pen Tool begin sketching out the shape you would like your sign to take. Take time to refine your lines by adding or removing anchor points (To add, use the Add anchor point tool. To remove, select an anchor point and choose Path>Delete Anchor Points from the menu).

Set the stroke width to the desired amount. Make sure you have rounded endpoints and corners selected as this will help simulate the illusion that these are tubes.

Turn on the drop shadow using the drop shadow menu. Offset=0. Blur=33.

Using the rectangle tool from the shapes menu in the Tool Bar, draw a color background shape and send to back using Arrange>Send to Back.

Draw a circle, send it behind the neon “tubes”. Set the fill of the circle to radial gradient and apply settings similar to example pictured above. Duplicate and move the radial gradient to create the illusion of glows behind the letters.

Next, select the neon graphics. Copy and paste on a new layer.
Outline the stroke by selecting Path>Outline Stroke.

Select Copy from the Edit menu.
Draw a rectangle around the outlined shape. Send the rectangle to the back using Arrange>Send to Back. Select the outlined shape and the rectangle and subtract the outlined shape from the rectangle by applying the Path>Subtract Front command.

Add a drop shadow to the selected shape. Set Offset to 0.

Next, paste the items from your clipboard and set Fill and Stroke to none. Select all the items in the current layer (Edit>Select All in Layer)

Remember that neon lights cast light. Add soft light glows on surfaces that may be near this object.
Nice! Thanks so much Ron!
ReplyDeleteLooks good. I like that this tutorial teaches some new techniques (e.g., using the outline path and cutting that out).
ReplyDeleteMuchas Gracias , esta todo muy bien , saludos thot
ReplyDelete